This guide will show you how to create a bootable MonoBrick firmware SD card using Mac OS or Linux.
Creating a bootable SD card
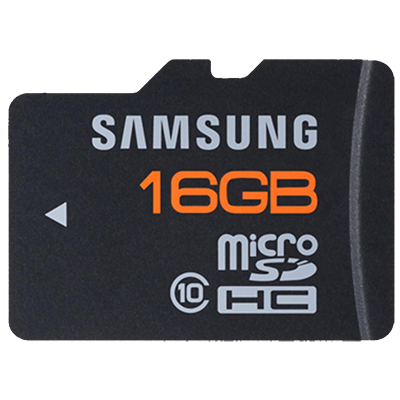
The steps below will show you how to extract the firmware image to a Micro SD card.
- Download the latest MonoBrick firmware image using the download link
- Plug the Micro SD card into the SD cardreader
- Find the SD card device
- From a terminal unpack the MonoBrick firmware image using gunzip
- Unmount the SD Card
- Write the image to the SD card
When the image has been downloaded open a terminal and navigate to the folder where you downloaded the image. On Linux type
sudo lshw -class disk
while Mac OS users should type
diskutil list
to get a list of devices. Based on the information listed determine the device “path” of the SD card. On my Mac the SD card was located at /dev/disk1 but on Linux this could something like /dev/sbd. Remember to check that the device matches what you know about the card – like its size (4.0GB), partition type and so on. If you are in doubt list the devices before and after inserting the SD card so you can compare the two tables. It is important that device is correct since you are about to write a new partition table on the SD card. When doing this the SD card will be formated and this can not be undone – Entering the wrong device could erase your harddisk so please double-check. Once you have the correct device proceed with unpacking the downloaded file by writing
gunzip imagefile.gz
Unmount the SD Card by writing
unmountDisk /dev/disk1
on Linux while Mac users should write
diskutil unmountDisk /dev/disk1
where /dev/disk1 is device “path” that you located above. Now write the image to the SD card. On Linux type the command shown below using the correct device “path” instead of sbd.
sudo dd if=imagefile.img of=/dev/sdb bs=1m
On Mac OS however use the following line
sudo dd if=imagefile.img of=/dev/rdisk1 bs=1m
Where disk1 is the correct device and the r in front of the disk1 device “path” indicates raw access, if r is omitted writing will take forever.
After a few minuets writing should be completed and a FAT drive should appear and you can proceed to the next step.
Booting
Boot the MonoBrick firmware by following these simple steps.
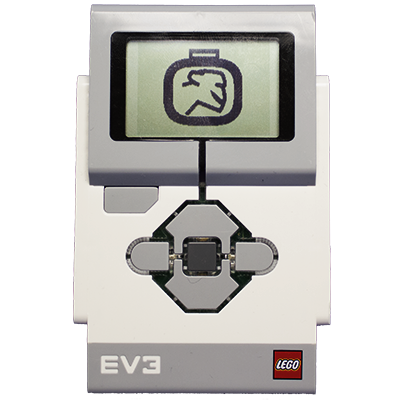
- Unplug the SD card and plug it in the SD slot on the EV3
- Press enter on the EV3 to boot the brick
- Wait for the Red light to turn off and the MonoBrick logo to appear – be patient
Congratulations your EV3 has successfully booted with the MonoBrick firmware. To start programming please proceed with installing the Xamarin Studio Add-in.
Support
If you are having trouble creating the SD card head on over to the forum where you can find answers and questions related to the EV3 firmware.
Download image via FTP
If you are having trouble downloading the images you can download them via FTP from here. But please be aware that there is a user and bandwidth limit.


I have been trying to download the 2GB firmware image but it breaks after around 60MB. Do we have any other repository to download the file? Downloading from this site seems unstable.
Use the ftp site as described here and here
/Anders