This guide describes how to install and configure the MonoBrick Firmware add-in for Xamarin Studio. With the add-in you can download and debug programs directly from the Xamarin Studio IDE.
Installing
To install the add-in use the download link found on this page. Once the file has been downloaded follow the steps shown
-
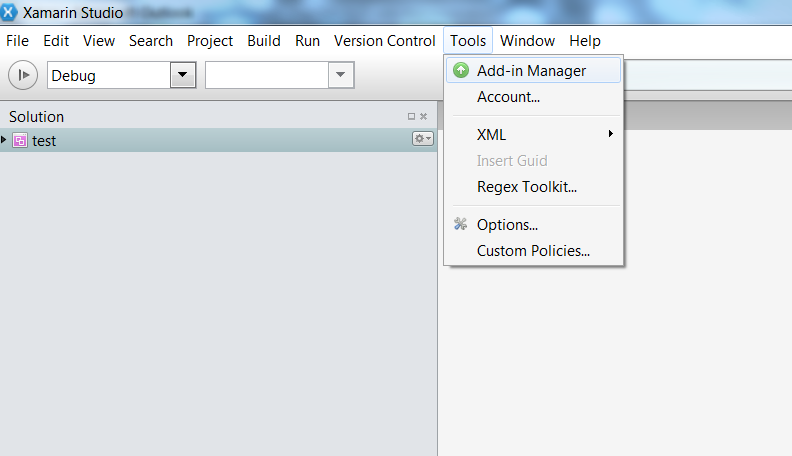
- Open add-in manager
-
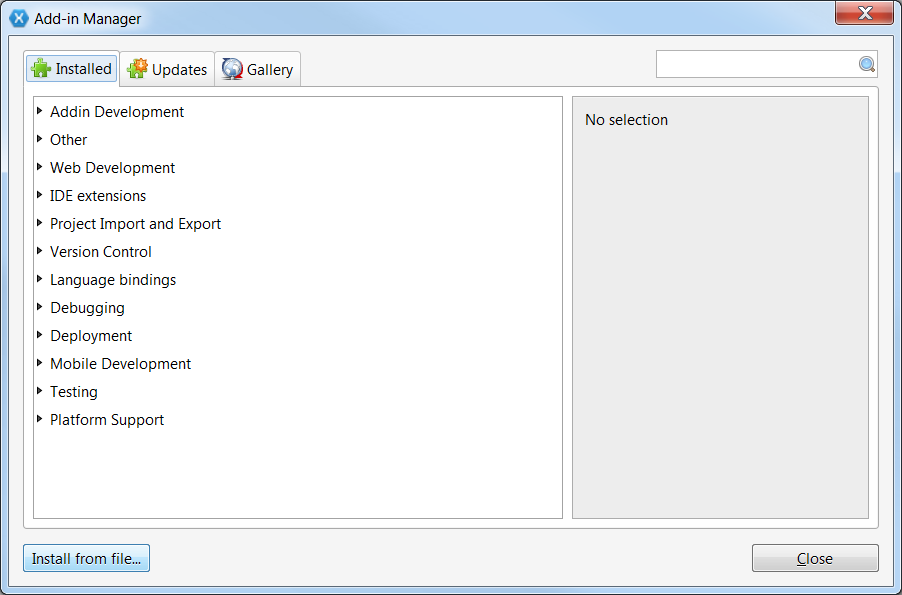
- Choose install from file
-
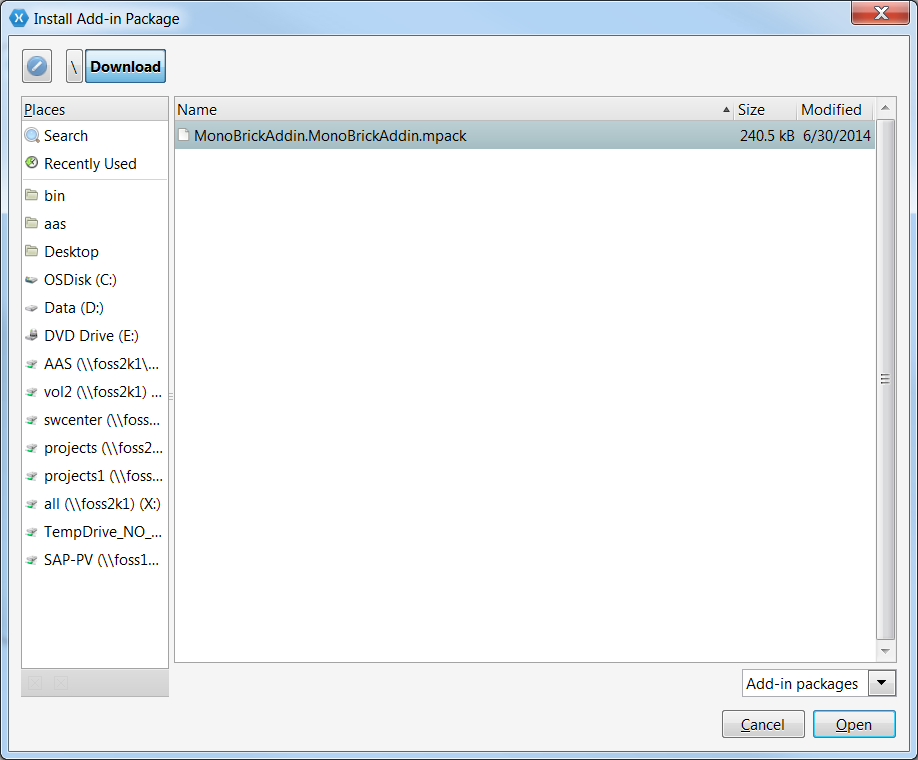
- Locate the downloaded file
Once the add-in has been installed please remember to restart Xamarin Studio.
Configuration
Once the program is restated follow the steps below to configure the add-in
-
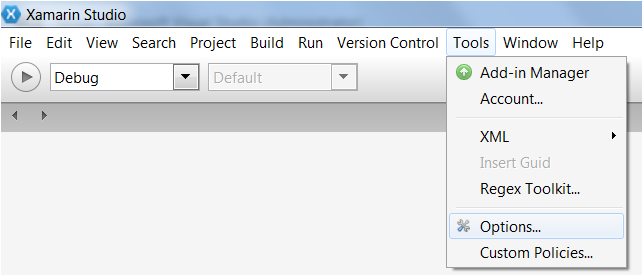
- Options on Windows
-
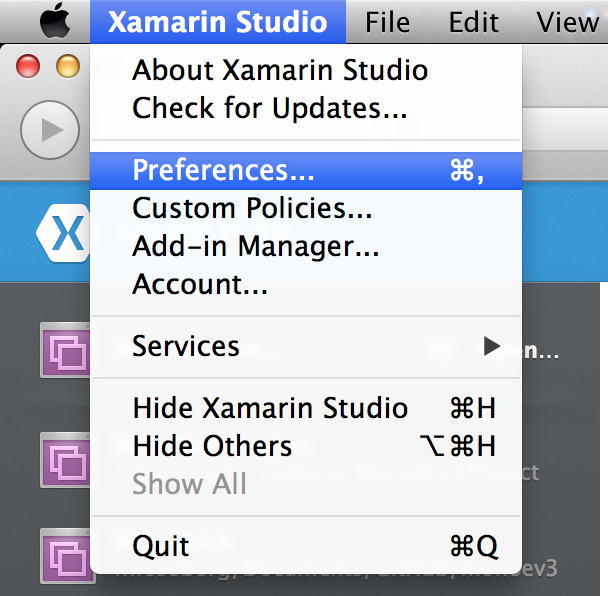
- Preferences on Mac OS
-
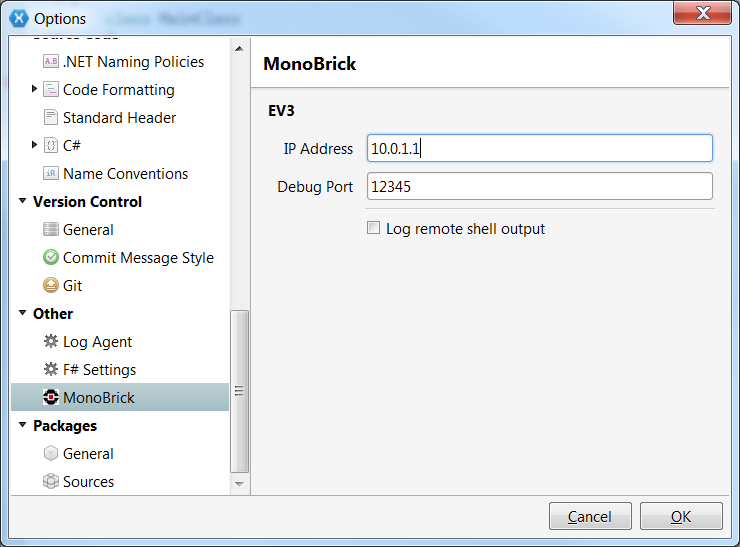
- Locate MonoBrick Add-in
In the IP-Address field enter 10.0.1.1 if you are using USB or the IP-Address of your Brick if you are connected using WiFi. Please refer to either the USB connection guide or the WiFi connection guide depending on your connection type. Windows users also needs to make sure that they have installed the Mono runtime from this link. When it has been downloaded make sure that the Mono runtime has been selected as shown below.
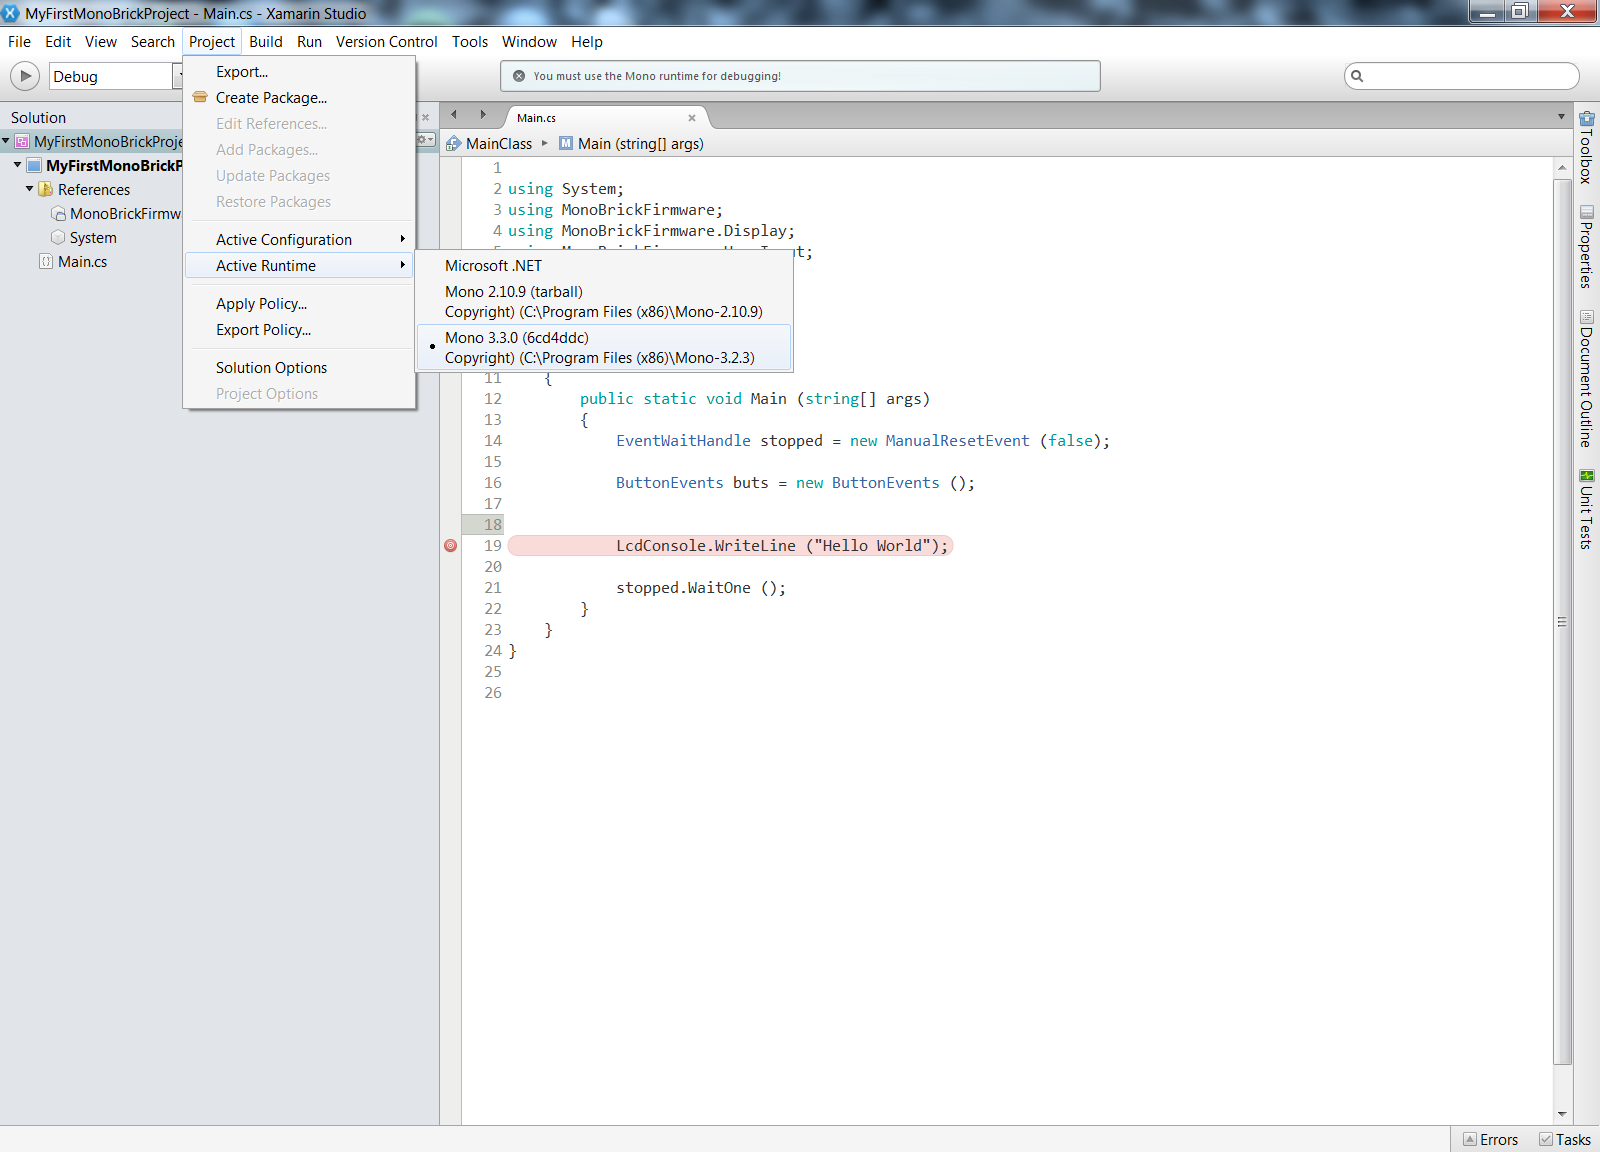
Windows uses need to make sure that the Mono runtime is selected.
Running/debugging a program
Once the add-in has been configured you are ready to create your first MonoBrick solution.
-
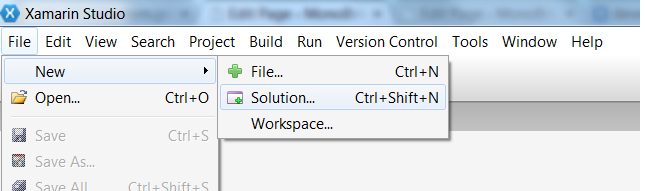
- Create a new solution
-
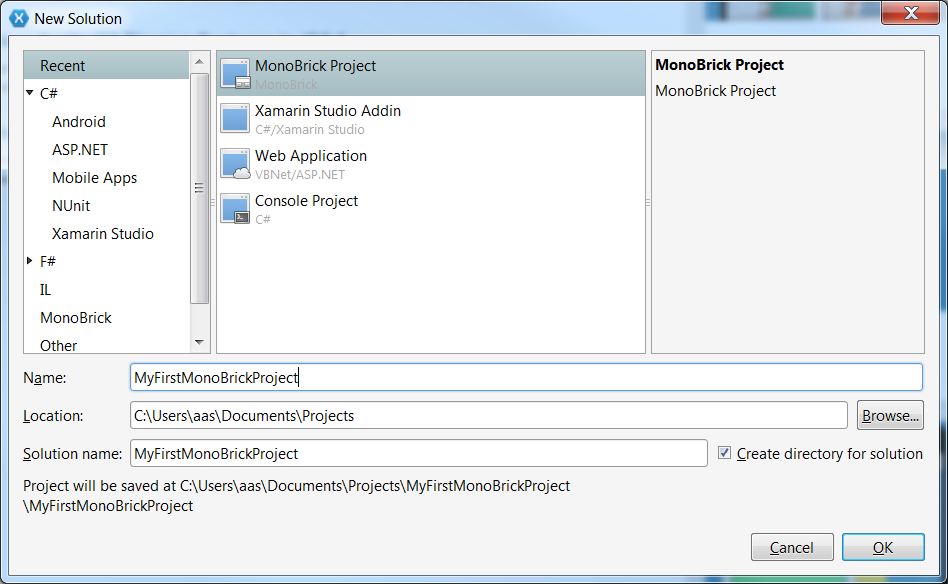
- Select MonoBrick project
-
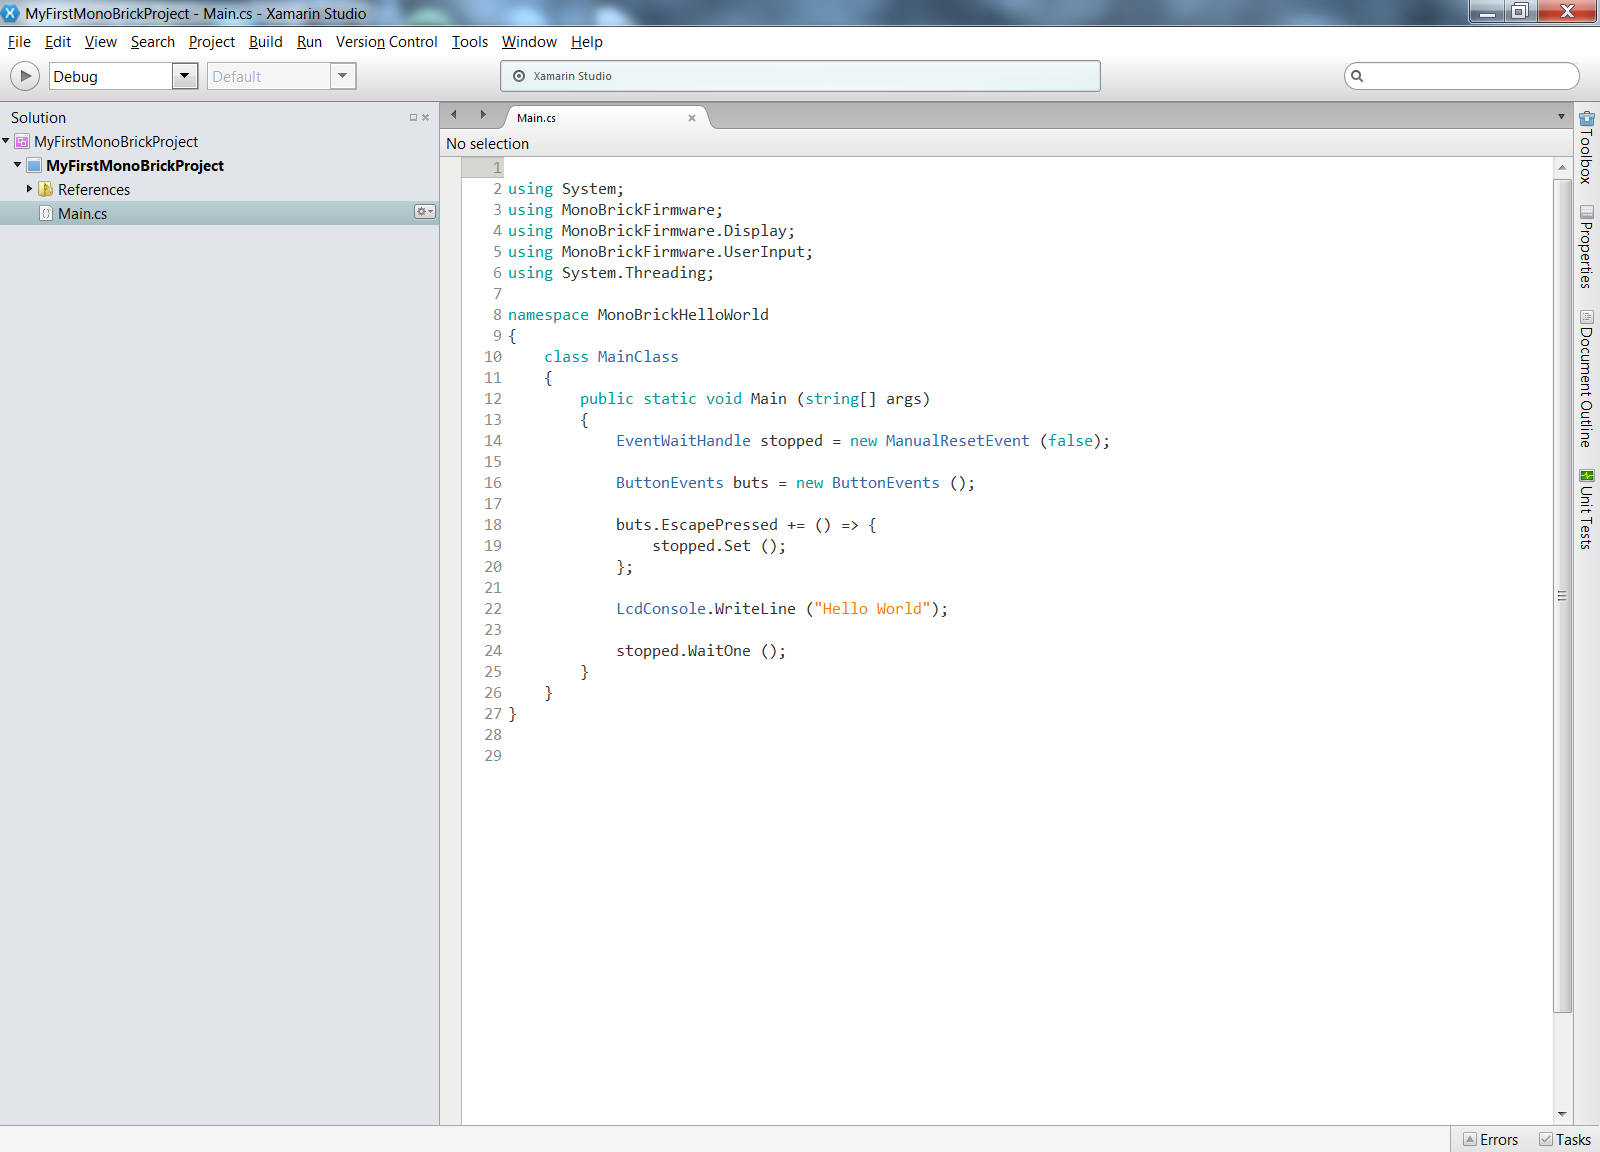
- Hello world is created
Now that the program has been created it is time to upload the program to the EV3 by pressing play. To debug a program add a breakpoint and use the “MonoBrick debugger” as shown below.
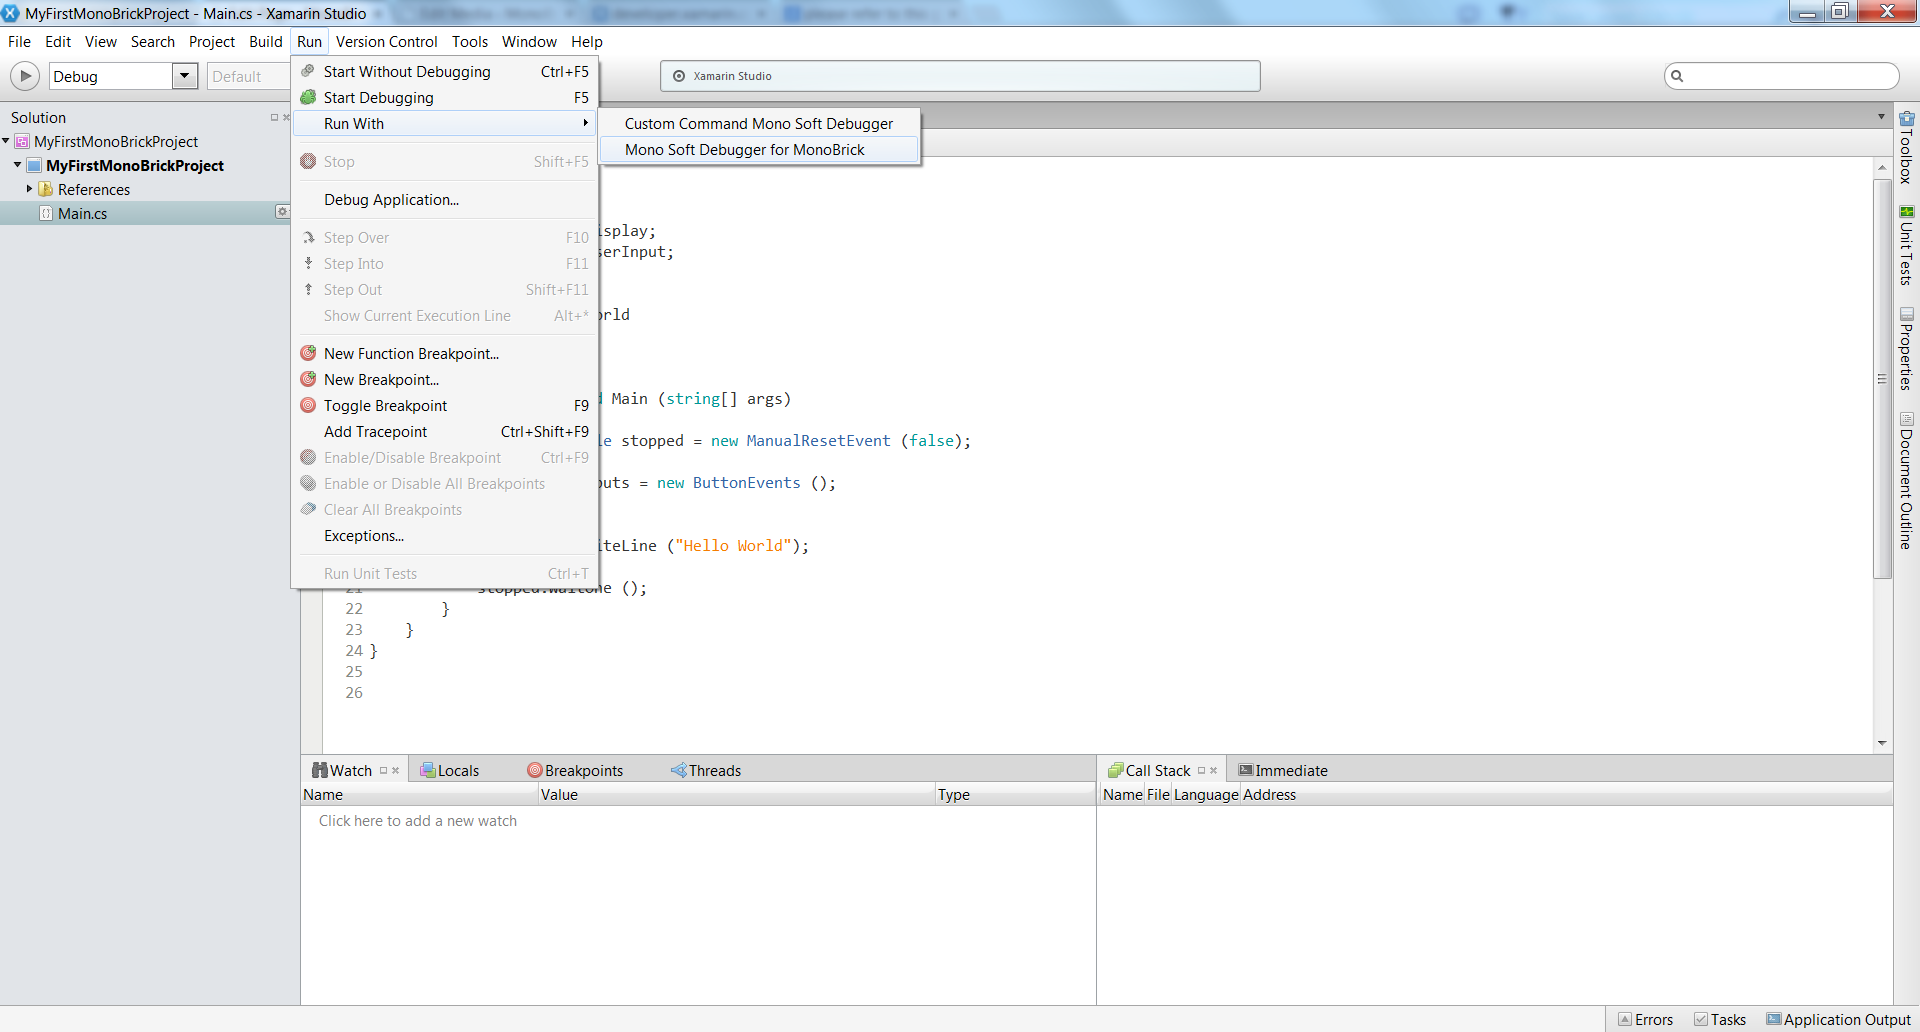
Press play or use “MonoBrick debugger” to debug
Please be aware that when a program has been uploaded the firmware application is terminated to prevent two programs from accessing hardware (LCD and button events) at the same time. This means that in order to use the firmware you need to reboot the EV3. We are currently working on a more elegant solution.

Follow